How To Pluck A Wig? Beginner Friendly!

As we all know, plucking a lace front wig can be a bit daunting if you have never done it before, but with a few simple tips, you can easily remove unwanted hair and create the perfect shape of your hairline.
In this blog, we will go over everything you may need to know to pluck your wig without damaging it. Whether you are a beginner wig wearer or an experienced stylist, this guide will help you keep your wig looking fresh and natural.
What Is Plucking?
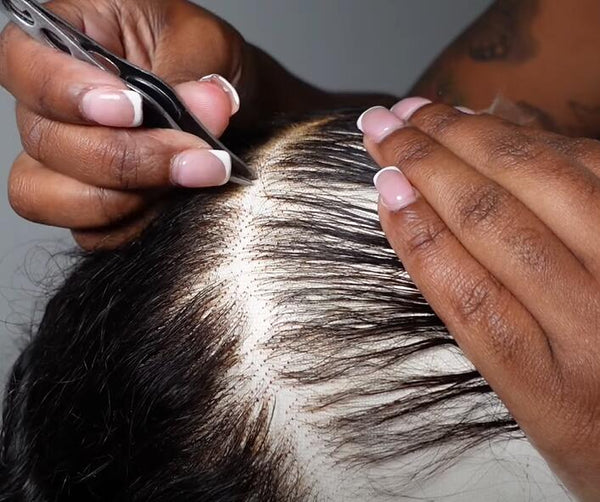
Most newbies may have the same doubt: What's the exact meaning of "plucking"? Plucking is a technique that involves using a tweezer to extract hair around the hairline, which will lower the density of the hair in the front section. This will make your hairline look less bulky and more natural.
Normally, it should be finished before installing your wig. Some wig companies (Like Hermosa Hair)offer wigs pre-plucked, which means you don't need to pluck the wig by yourself, this makes your work easier.
Why Should We Pluck The Wig?
This is a common question among our customers. The answer is yes if the lace wig you bought is unplucked. Here are the reasons.
1. To Achieve a Natural Look
If you have ever inspected the hairline of your natural hair, you will find that your natural hairline always comes with unequal-length natural hair, that's a sign of natural hair growth.
But a new wig always comes with a hairline that’s straight across, too far forward, or too dense.

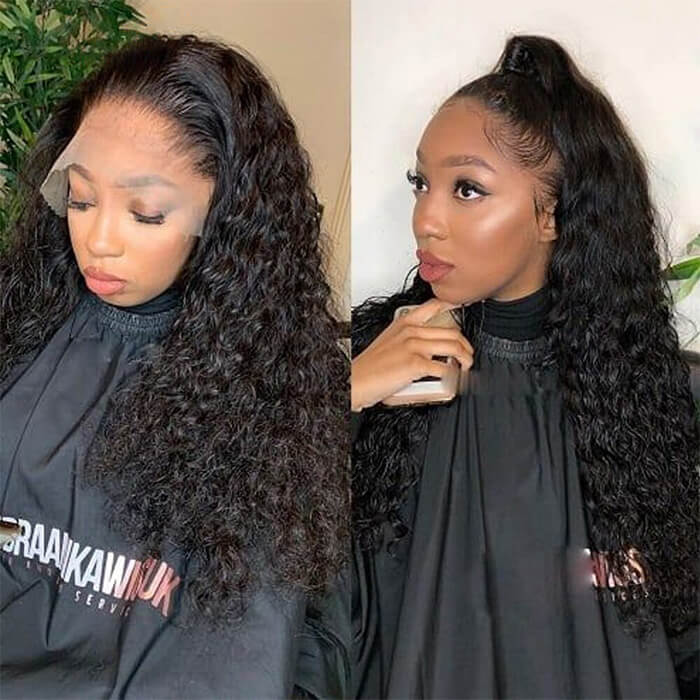
Unplucked VS Plucked Wig
Therefore, to get a realistic hairline look, you should pluck your wig to get a natural hairline density similar to your natural hair. By doing this, your wig hairline will be like it has grown naturally from the scalp.
2. To Get the Perfect Hairline
The hairline is one of the most apparent parts of wearing a lace front wig, as this is where you will see if your wig looks natural. By plucking away individual strands, you can adjust the shape and depth of your hairline to your liking.
3. To Create Different Hairstyles
Plucking allows you to customize the look of your lace wig, which means you can create different hairstyles with ease. Whether a sleek bob or tousled waves, plucking is an essential step to achieve any desired style. Most importantly, plucking can help you avoid the dreaded "wiggy" look and achieve a more natural appearance.
4. To Adjust the Volume
If your wig density is too full, plucking can help you adjust the volume and create a more natural look. It is crucial to be delicate and take your time when plucking your wig to avoid over-plucking.
5. To Remove Unwanted Hairs
Even the most expensive wigs may come with some stray hairs that don't belong there. Plucking is the best way to remove these errant strands and ensure a clean and polished look. To be on the safe side, you should always start with a few strands at a time and work your way up until you achieve the desired look.
Now that you understand why plucking is necessary, let's look at how to accomplish it!
Tools You Need to Pluck a Wig
Before you begin plucking, make sure to have the following tools on hand:
1. A Lace Front Wig
To pluck a wig, you need to have a lace front wig on hand. This type of wig has a thin, nearly invisible base made from either Swiss hd lace designed to blend into the scalp for a natural look.
2. Tweezers

Tweezers are an essential tool for plucking wigs. Choose a pair with slanted tips for maximum precision. With the right tweezers, you can easily remove individual strands for a clean and polished look.
3. Hair Clippers
Hair clippers can help you quickly and easily remove excess hairs without plucking each one individually. These are especially useful if your wig has an excessive amount of hair that needs to be removed.
4. Hairbrush
A soft-bristled hairbrush is essential for brushing out your wig after plucking. This will help create a smooth and natural look and make sure that all of the hairs are evenly distributed.
5. Wig Cap
Every time you pluck your wig, make sure to wear a wig cap underneath. This prevents any excess hairs from falling onto the lace and causing an unnecessary mess.
6. Wig Stand

Before you start plucking, make sure to secure your wig onto a wig stand. This will help keep the wig steady and in place as you work. If you don't have a wig stand, you can use a mannequin head instead.
7. Rattail Comb

To achieve the perfect shape for your hairline, use a rattail comb to section off the areas that need to be plucked. This will help you keep track of which hairs have been removed and make sure that each strand is evenly distributed.
Step-by-Step Guide to Plucking a Wig
Now that you have all the tools you need, let's get started! Here is a step-by-step guide to plucking your wig:
Step 1: Bleach Knots (optional)

Bleaching knots and plucking are two important steps to make your more natural. If the knots are bleached well, it blends well with your scalp and makes it even more natural. But it requires professional skills to avoid destroying your lace. In this case, we prepare a detailed guide about how to bleach knots.
Step 2: Put Your Wig on the Wig Stand

Now it's time to start plucking!
- Place your wig on the wig stand or mannequin head and secure it with pins. Using a wig stand is recommended for maximum stability.
- But if you don't have a wig stand or mannequin, you can also place your wig on your head and get styling.
You might believe this task to be troublesome, but it's quite simple. Wearing a wig while plucking hair is favored by many as they can precisely measure the direction of their hairline with ease.
If you are looking for an alternate option, ensure your wig stays firmly in place when removing individual strands.
Step 3: Decide Your Desired Look
Every wig enthusiast needs to have a picture of their desired end product before beginning the plucking process. Take a photo of what you want your hairline to look like, or find some inspiration online.
Once you have your goal in mind, it will be much easier to begin creating the perfect shape and texture for your wig. When plucking, keep the photo or inspiration in mind to help you adjust accordingly.
Step 4: Prepare Your Hair For Plucking

Now it's time for the actual plucking.
- Use a rattail comb to smooth back your hairline to ensure there aren’t any knots or tangles.
- Apply wax stick on the hair and use a hot comb to comb the hair back. (If you are going to do a middle part or side part, part the hair first, then apply a wax stick and use the hot comb to style).
Step 5: Start Plucking The Hairline

- Section off a thin layer of frontal wig, take a hot comb, and press it down.
- Begin tweezing at your hairline, and then continue up to the middle just above your ear.
Pro tips: Keep a consistent and swift hand when tweezing your hair; pluck every other hair strand. Don't pluck in the same area, always keep moving to avoid ending up with bald spots.
Step 6: Repeat the Last Step To More Layers
To achieve a natural look, you will have to pluck various layers of hair and repeat the last step for more layers. If this is your first time plucking a wig, be careful and keep patient all the time. It can be a challenge for newbies.

Continue plucking until you have achieved your desired shape and texture, keeping in mind the picture or inspiration that you had taken previously!
Once finished, comb through the wig with a brush to even out any flyaways or bumps. You can also use a bit of hairspray or gel to keep everything in place. And now, you have achieved your perfect wig look! Congratulations!
Detail Video About Plucking A Wig
Now that you have the knowledge and skill to create any desired hairstyle with your wig, it's time to let your creativity shine through. Enjoy styling away!
Important Factors to Consider When Plucking Your Wig
When plucking a wig, there are a few important factors to consider:
- The direction of the hair growth when it is placed on your head. Pluck in the same direction as the hair growth for optimal results.
- How much do you want to tweeze? Start small and slowly tweeze more if desired; remember that it's easier to add than to remove.
- The size of the tweezer you are using; bigger tweezers can create larger gaps, while smaller ones allow for more precise plucking.
- Your goal in mind; always refer back to the photo or inspiration you took before beginning.
- Aftercare tips; it is important to keep your wig hydrated and in good condition after styling.
- Finally, take your time; plucking a wig takes time, but the results are well worth it!
By following these simple steps, you will be well on your way to creating the perfect look with your wig! So what are you waiting for? Get plucking! Good luck and happy styling!
Is There a Wig That Requires No Plucking?
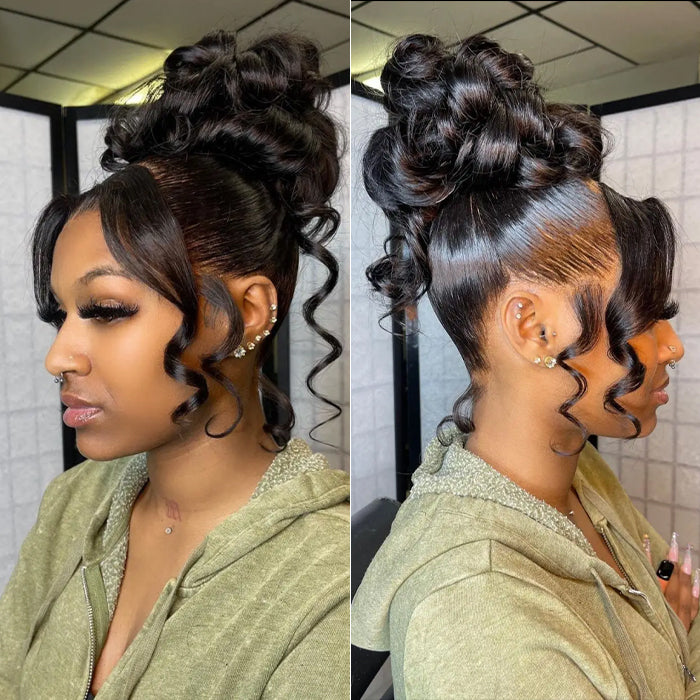
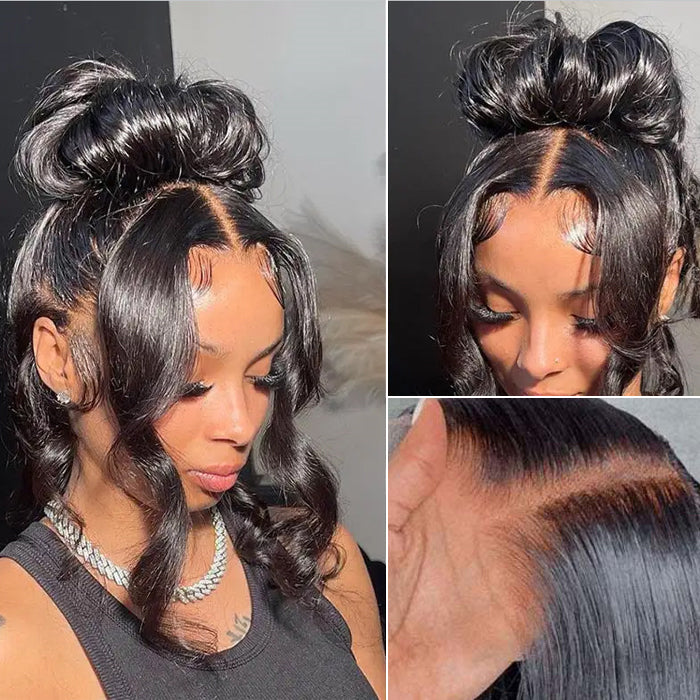
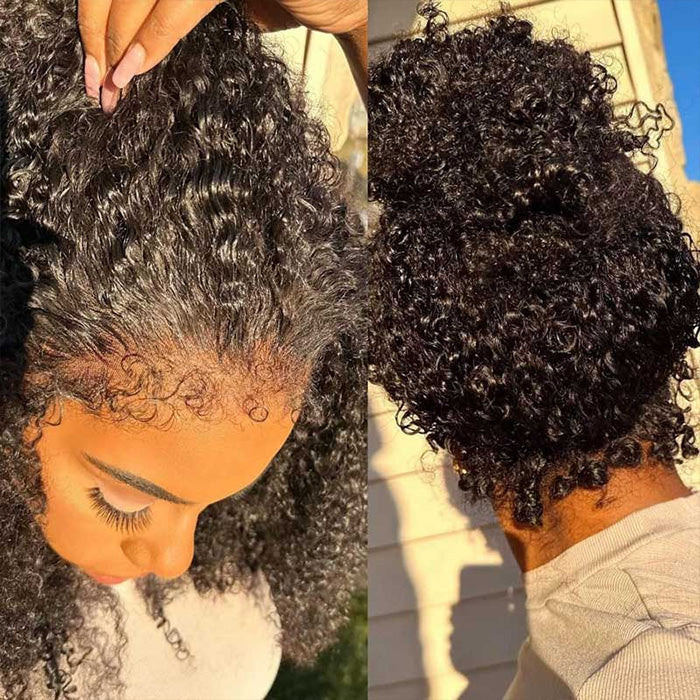
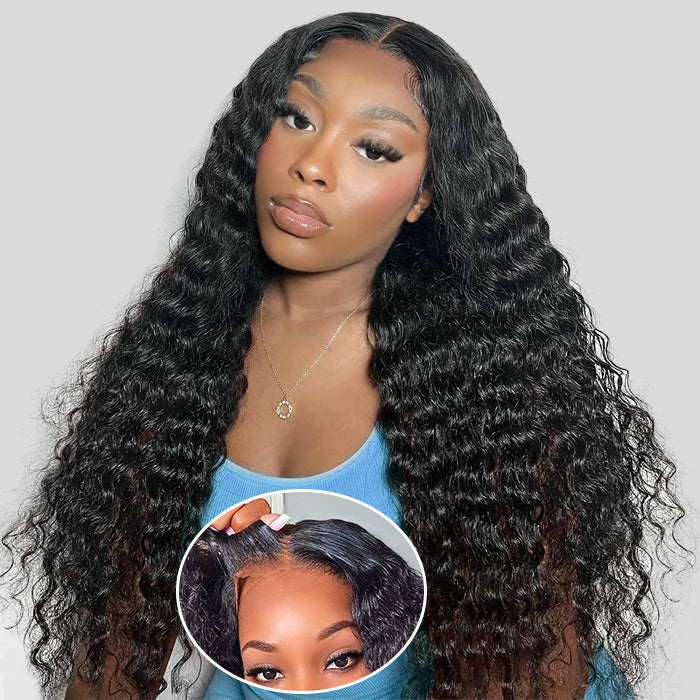
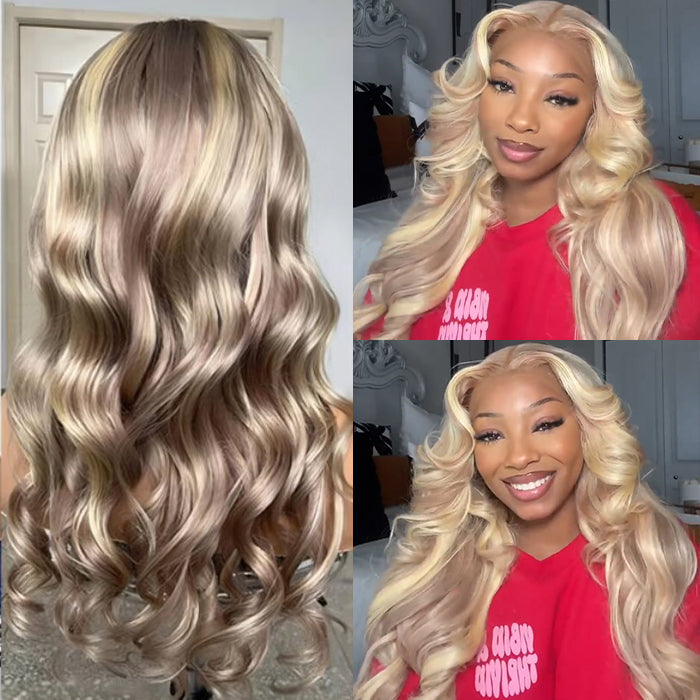
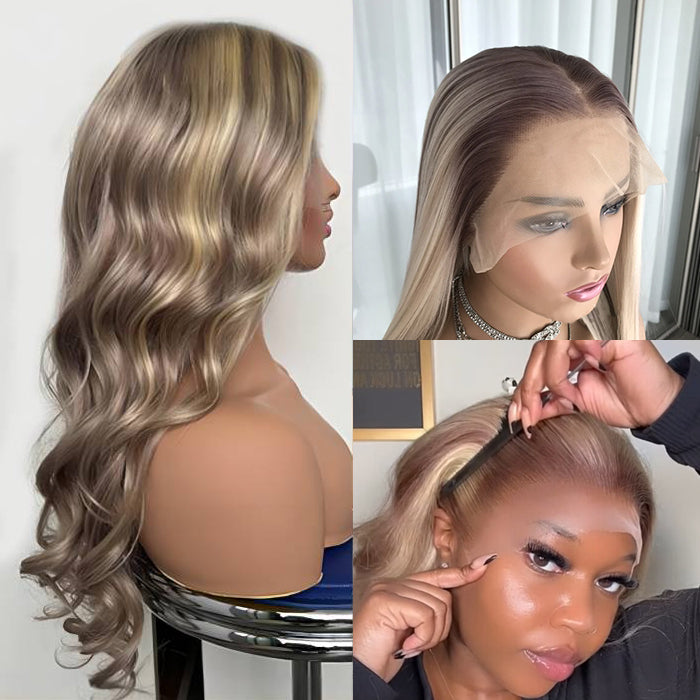
The answer is Yes! Nowadays, many hair companies provide wigs pre-plucked, which means the hairline of your wigs is pre-plucked already, which will save you much work. Hermosa hair pre-plucked human hair wigs offer a natural and realistic hairline to assist you with a perfect look.
In addition to plucking your wig, there are many other ways to make your wig more natural, like fixing your hairline, melting down the lace, leaving some babe hair, etc.


In a Nutshell
Plucking your wig may seem like a daunting task, but with the right tools and a little bit of know-how, you'll be able to achieve the perfect look for your lace front wig.
By following our step-by-step guide, you'll be plucking away in no time! Just remember to take your time and be careful not to damage the hair follicles. With a little bit of practice, you'll be able to create any hairstyle you desire. So what are you waiting for? Give it a try today!
Ps: If you want to skip this complex process, why not try a wear and go pre everything wig that done by suppliers already?























Leave a comment