


How To Make A Wig? Step By Step

Making a wig is simple.
Tools You Need For Making A Wig

You can make a beautiful wig yourself, even if it is your first time. You will need the following materials to get started:
- A wig stand (tripod wig stands are the best)
- A mannequin head or styrofoam (the same size with your head)
- A wig cap
- Wig closure net (optional)
- T-pins
- C-curve needle/sewing machine
- Sewing thread or bond
- A pair of scissors
- Measuring tape
- Colored chalk/highlighter
- Hairbrush
- Styling tools
- Hair bundles
These are the basic things you need to make a wig. You can add more tools based on the style you want to achieve.
In this article, you will learn how to make a beautiful wig you can wear anywhere even if you haven’t made one before.
Let’s get started:
How To Make A Wig -Step By Step
Step 1: Prepare your Wig Cap and Hair Bundles
Your wig cap and hair bundles are the most important things to get right when making a wig. You want a wig cap that is your size (a perfect fit). To get a fitting wig cap:
- Measure your head circumference as a guide before making a purchase.
- Buy a good-quality wig cap (a mesh wig cap works).
- Buy two wig caps.
Aside from the wig cap, the hair bundles are essential. A high-quality hair bundle will result in a beautiful wig.
Once you have your wig cap and hair bundles, it is time to start prepping them.
A. Prepping the Wig Cap for Wig Making

The wig cap provides the foundation upon which the wig is laid. Bad prepping will result in a bad-looking wig. Let’s prep our wig cap following these simple steps:
- Place the wig cap on a mannequin head/styrofoam.
- Use T-pins to secure the edges of the wig cap.
- Use a colored chalk/pencil to create weft tracks on the wig cap.
Creating Weft Tracks on a Wig Cap
Creating a weft track on the wig cap is usually the most challenging aspect of wig-making for beginners. Doing this wrongly will affect the general appearance of the wig.
Here’s a simple way to do it effectively:
- Secure the cap on the mannequin head.
- Leave 1 inches between tracks for proper spacing.
- Use the colored chalk/pencil (with the measuring tape) to Mark the tracks.
That’s it!
Once you have created the tracks, you are almost done laying a good foundation for your wig. The next thing is to prep your hair extension bundles.
B. Prepping Your Hair Extensions Bundles for Wig Making

You are done prepping the wig cap, let’s prep your hair bundles. This is a delicate stage, you don’t want to mess things up here.
A little slip can damage your expensive hair, let's help you do it correctly in the following steps:
- Unpack your hair bundles and lay them on a clear surface.
- Use the measuring tape to measure each weft track on the wig cap.
- Use the measurement to cut your hair into pieces according to the different lengths of the tracks on the wig cap.
Follow the measurement carefully to avoid damaging your hair. We’ll advise you to start with the longest part - usually the sides around the ears and crown of your head.
Adjust as you go.
Step 2: Start Attaching Hair Wefts to the Wig Cap
Once you are done making the tracks and cutting your hair wefts to fit, it's time for the fun part.
Attaching the hair to the wig cap!
How you attach the hair to the wig cap depends on the style you want to achieve. If you want to use a closure, then you can first attach the closure to the wig cap (following the marked area “U”).
You don’t need to follow the marked frontal area if you are making a headband wig.
Let’s assume you are making a closure wig (which is usually the case), here’s
How to attach the lace closure to the wig cap:

a. Place the lace closure on the marked area (usually in the shape letter “U”), the center of your forehead.
Note: Place the lace a little front of the wig cap.
b. Use T-pins to secure the closure and prevent it from moving.
c. Thread your needle (pass a double-drawn thread into the needle's eye and knot the end). A C-curve needle is the best for beginners.
d. Start sewing the closure to the wig cap starting from the edge.
Note: Make sure the needle passes through the loop twice for a secure sew.
e. Tie a knot after sewing around the portion marked “U”.
Congrats, you have successfully attached the closure to your wig cap.
Use a hair clip (butterfly clip) or hair band to section the frontal area before attaching the remaining parts of the hair to the wig cap.
How to attach the hair wefts to the wig cap:
Follow the same process to attach the remaining hair to the wig cap. Make sure to:
- Tie a knot at the beginning and end of every track.
- Ensure the knots are beneath the weft to prevent a bumpy-looking wig.
- Cut off excess thread for a clean finish.
- Pass the needle through the loop two times before making the next stitch.
Repeat the process for all of the tracks and that’s it. You have completely attached the hair to the wig cap.
Step 3: Finish the Wig and Put it in Your Preferred Style
This is the last, but crucial step.
This stage of wig-making leaves your wig looking beautiful or otherwise. This is where we do all the finishing to give the wig a beautiful appearance.
Let’s finish our wig following these simple steps:
a. Brush down the hair to see how things fit.
b. Use small snipping scissors to cut the excess wig cap from the frontal.

Note: Do this carefully. Just follow the thread line around the lace closure.
c. Comb the wig from roots to ends to tame flyaways, tangles, and for a silky look.
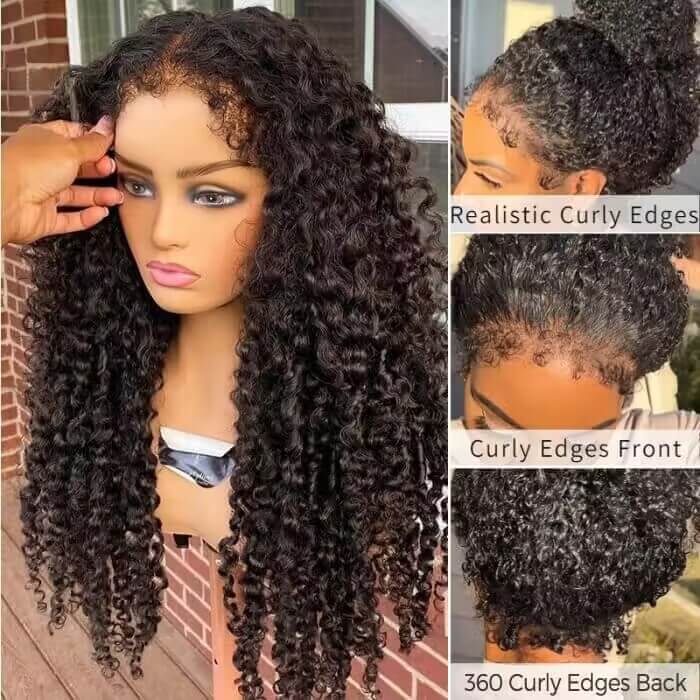
Note: If you want to make it a glueless wig, add on adjustable band in the back. To make the wig more natural, you can cut the lace, plucked the hairline.
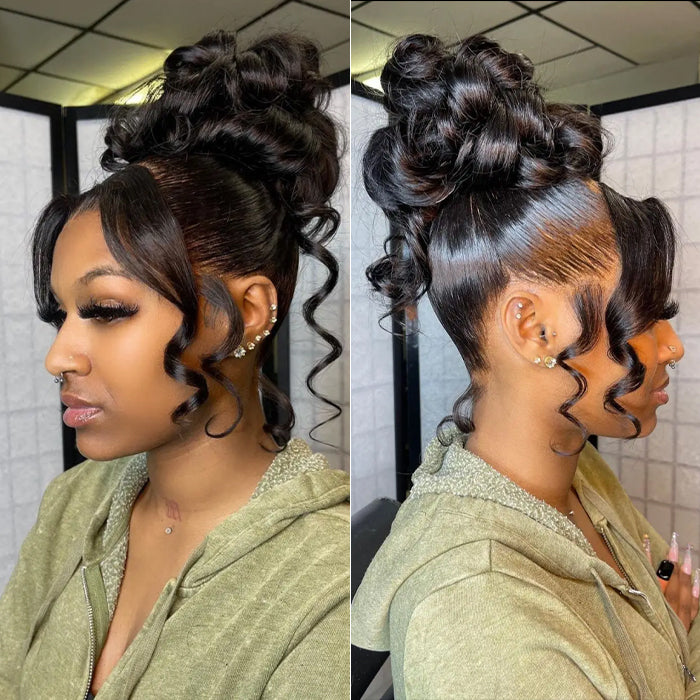
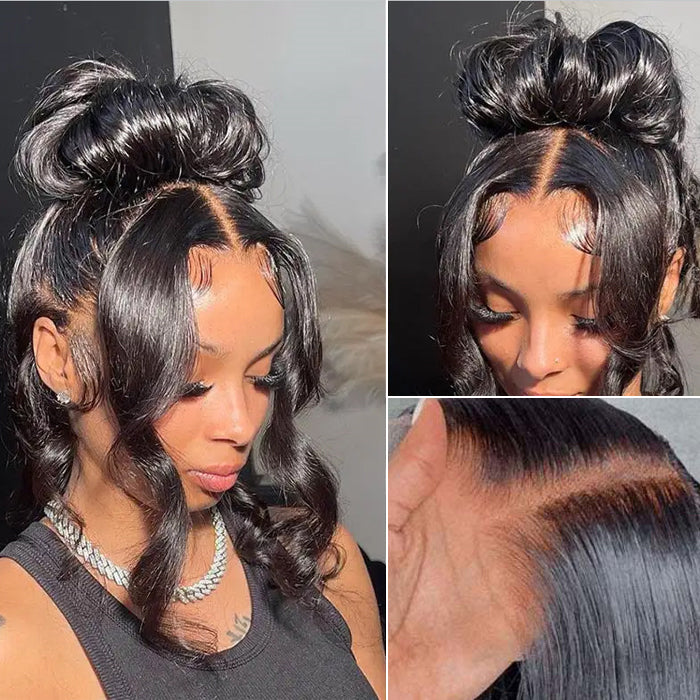
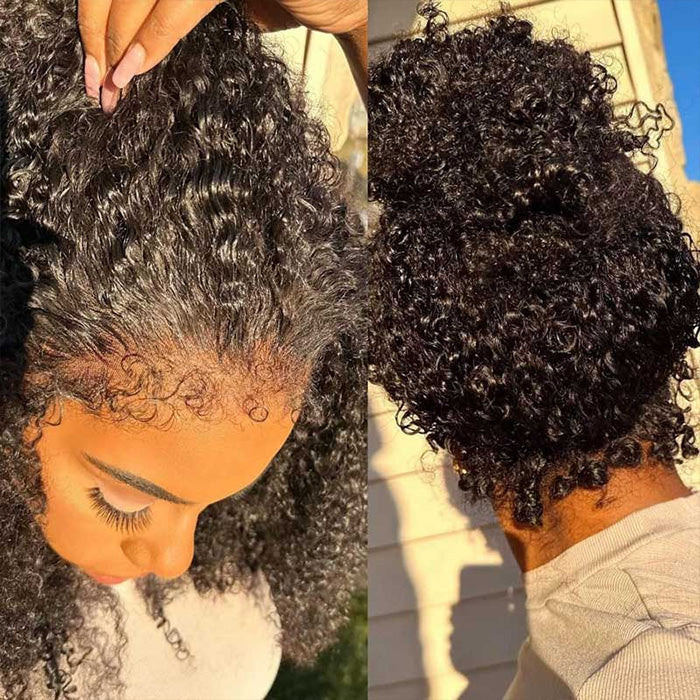
Styling the Finished Wig
Styling the finished wig brings your desired look to life.
Depending on the style you wish to achieve, the following tools will help you style your wig:
1. Blow Dryer
Use a blow dryer to comb your wig and align every hair strand. It helps to properly comb the hair (from the roots to the bottom).
2. Hair straightener/ curlers
Straightening the wig after installation is an important aspect and here’s why:
- The closure hair is usually shorter than the other hair. Using a heat styling tool like the hair straightener helps to blend the hairs seamlessly.
- A new wig may appear frizzy from installation. Using heat styling tools (depending on the hairstyle) helps to give the wig a silky and clean finish - aligning hair strands in the same direction.
- Perfect styling. Heat styling tools will help you put the wig in your preferred style. If it is a bone-straight wig, you can use the hair straightener to give it that perfect silk-press movement.
- For curls and waves. The curler/crimper will give your wig the perfect finish.
Aside from tools, hair care products are great for giving your wig a clean finish. Hair care products like, hair mousse, heat protector, and sheen spray, are great finishes.
Let’s talk about the most important ones:
3. Heat protectant
If you are going to use any heat styling tool (straightener, curler, etc.), you will need a heat protector. The heat protector shields your hair from heat damage.
Don’t forget to buy one when making your purchase.
4. Hair Mousse
Can you remember that fun stuff the stylist applied to your hair after styling? Yea, that is called hair/styling mousse.
Hair mousse helps the hair to lay flat on the wig cap and your scalp. This is mostly important if you are using a closure or frontal because it helps with styling the baby hairs and taming flyaways.
5. Sheen Spray (Optional)
The sheen spray is optional. However, you can use it to add some shine to your hair after styling.
Wrapping it Up!
That’s it.
You’ve just completed making a wig yourself in 3 simple steps. It is easy and fun too.
You can keep trying all you have learned from this article to perfect your wig-making skills. However, always make sure to buy high-quality human hair bundles whenever you want to make a wig.
Let us know if you have any questions.


Leave a comment