


How To Do Flat Twists? Step By Step

Flat twists hairstyles are everywhere online. The internet might have kept your phone buzzing with thousands of flat twists hairstyles you can wear. Well, they make a great way to protect your hair and are versatile too. It's no wonder natural and relaxed girls opt for flat twists as a protective style. When you are bored with braids or wigs, flat twists can also be a great choice that everyone can achieve.
We've learned an easy way to achieve flat twists. Now, you can style it into a ponytail, a mohawk, an updo, or even a chic bun effortlessly with this article. It might take some time to perfect this two-strand twist, but you'll master it in no time.
Now, let's get started!
What Is A Flat Twist?

The flat twist is a protective twisting hairstyle that the technology resembles to cornrow, but is easier. This involves parting each row into two strands and keeping flat twisting hair to the scalp.
How to do a Flat Twist: Steps-by-Step Guide
1. Prepare Your Tools and Hair for the Flat Twists Process
The tools you'll need are the essential tools for styling. So, gather your;
- Rattail comb
- Clips to secure your hair
- Hair moisturizer
- Gel
- Wide-tooth comb
Your hair needs to be ready as well.

- Start by washing it with a shampoo and conditioner. Since flat twists work with neat hair, you can't afford to skip this part.
- Ensure your scalp is clean, as it'll be exposed to dirt more than it used to.
- Start twisting once your hair is dry if your hair is relaxed or you have natural afro hair. However, those with straight or fine hair texture should wait a few days before twisting their hair. That's because you might find it hard to grip it immediately after washing. The curly-haired girls can start their twists once their hair is 50 percent damp.
Pro Tips: If you didn't wash your hair, please be sure to moisturize your hair by spraying water before twisting.
2. Part Your Hair

Detangle your hair once more, then start parting.
Make use of your rattail comb to divide the sections appropriately. You can section hair from 2 to 10 or as many as you like. So, determine the style you want and part it. In this article, we will assume to do straight, flat twists (from the hairline to the back).
If you're worried about making a mistake as you part, you can use a mirror to check. The rattail comb should also help create a neat line from your other tresses. After parting, secure each of them with a clip.
3. Moisturize Your Scalp
Please pick up your hair moisturizer and apply it to your scalp. You'll be putting a generous amount only to the sectioned lines. Apply from the front to the back. But, if you find applying your moisturizer all at once inconvenient, you can use it as you twist or after twisting.
4. Start Twisting Your Hair

Remove the hair clip from one section (you can start from one side of your head) and begin to twist. Here's how you'll do it:
- Separate a little piece of hair at the front and divide the hair into two.
- Start twisting by crossing the right part over the left.
- Next, add a bit of hair to the part at the bottom. Once you've added it, you should twist it again before adding hair from your scalp to the next part at the bottom.
The process is quite different from the cornrow braiding pattern, while it's similar to French braids.
5. Secure Your Twist at the Ends of Your Hair

Once you've finally reached the ends of your hair (the area where your hair is no longer attached to your scalp), you should secure your hair.
You can hold it with a clip or band or continue twisting it. It depends on what style you are going for. The clips and bands will keep it from losing till you're ready to style as you wish.
You can also tie them to form bantu knots. Whatever you're most comfortable with.
6. Keep Twisting Your Hair
It's time to twist the rest of your hair (as we've explained in number 4). Move to the next row and start from the front. As you twist, you don't hold it too tight or loose.
Your twisting technique affects how it looks. A too-loose twist will not appear neat, and a tight twist can cause breakage. You can work on finding the right amount of tension. Yours can be loose when you begin, but you'll become comfortable with it as you twist more often.
7. Style as You Wish

After you've done with your flat twists, style as you wish. Apply mousse to slick your hair and a hairspray for some shine. Then, gel your edges for a gorgeous finish, and you'll be done!
How Should You Style Your Flat Twists
1. Ponytail Flat Twists

You can make your flat twists for a stunning ponytail style. It follows the earlier steps, but make sure you twist upwards to give you the ponytail style.
First, divide your hair into four parts, two at the front and two at the back. Twist each section upward towards the crown of your head and have the ends secured. You can style this any way you want or include a few mini twists.
2. Mohawk Flat Twists

This style looks like the Mohawk haircut. Start sectioning the back of your hair, then twist upwards. It's a style that won't require stress to manage or many pins to keep in place. If you'd love to achieve a unique style with the flat twists, try styling this.
3. Deep Side Part Flat Twists
Apart from doing the straight cornrows style, try the deep side part for a more dramatic look. You can easily do this for any hairstyle you choose to rock with the flat twists. For instance, a side with flat twists and the other part with mini twists will look amazing. Or get your flat twists in cornrows style but with a deep side part.
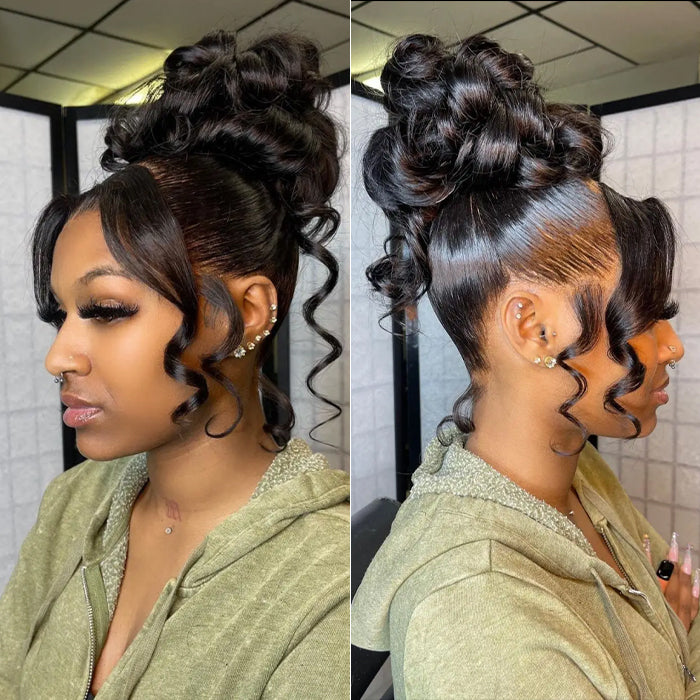
4. Updo with Flat Twists

Gather the twists together for a beautiful updo style, and you will love it. You can protect your hair strands by tucking them away, especially if the weather is harsh. Use some pins to hold them in place for a fantastic hairstyle. Remember, your sectioning will be different. Get your inspiration ready and follow the pattern accordingly.
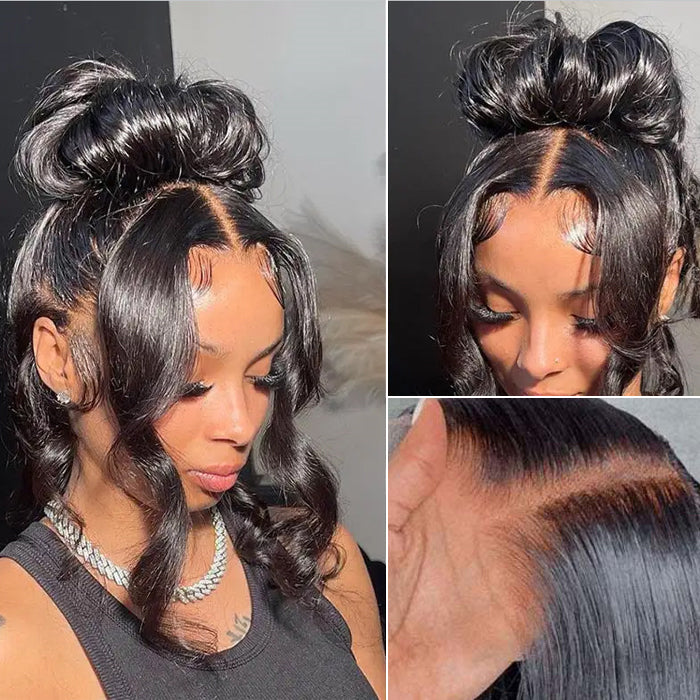
5. Low Bun with Flat Twists

The low bun is a simple yet charming way to wear the flat twists. The hair is sectioned from the front to the back and made to look like a cornrow all-back.
However, this style has a few mini twists at the nape of the neck. If you'll style this, get some parts at the back of your hair section for the twists, then flat twist the rest of your hair. You can keep your hair moisturized with hair oil for some time.
6. Pigtails with Flat Twists

Pigtails can be your go-to flat-twist style if you have thick hair. It makes it easy for you to wear tons of styles without dealing with the fullness of your hair every day. Following the way pigtails appear, divide your hair into two parts, with one at each side of your hair. Then, further divide each part to form the pigtails.
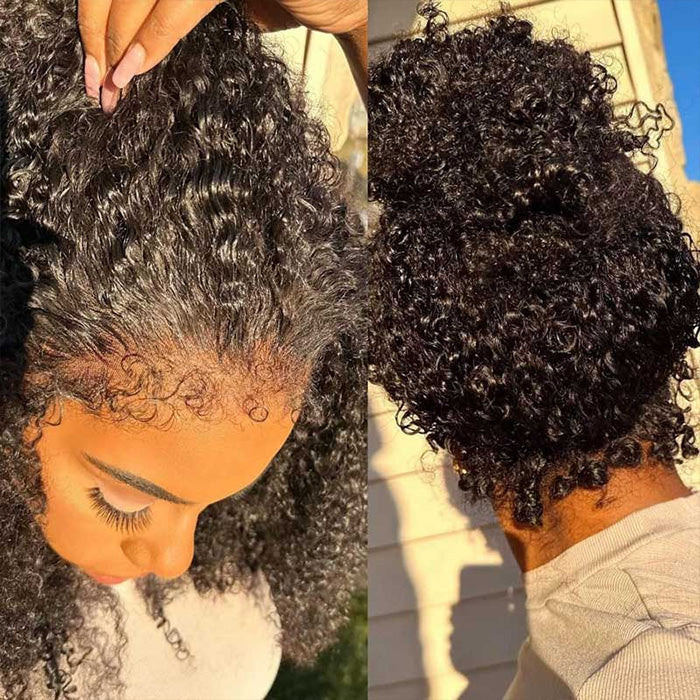
7. Twist Out

An advantage everyone enjoys with flat twists is that they are versatile. The twist-out hairstyle is proof of that. Whenever you are tired of the flat twists, loosen them for a beautiful twist-out hairstyle. Go in with a leave-in conditioner spray, and your hair will receive life. It will get moisturized and shine.
FAQS
1. How long can flat twists last?
Your flat twists can last up to three weeks. It's like any other protective style you have had. It gets loose and old once you have it on for a long time. If you want to keep rocking flat twists, loosen them out and twist your hair again. That way, your hair is healthy, refreshed, and neat.
2. Can you add extensions to your flat twists?
Of course, you can. Adding hair extensions can be a way to extend your hair if you have short hair. Or make it longer based on the style you want.
And there are a lot of long flat twists hairstyles you can wear. That includes ponytail ones and pigtails.
3. How can you maintain flat twists?
It's easy to maintain flat twists.
First, protect your flat twists by wearing a satin bonnet when it's time to go to bed. Then, apply hair butter or oil to your scalp once you notice it's dry. Lastly, gel your edges for a cleaner look.
4. How do you moisturize flat twists?
It's better to have your strands moisturized properly before twisting. You can also moisturize your scalp as you twist, and as time goes on, you can moisturize your flat twists by applying hair oil to the lines of each twist.
Final Words
The flat twists are versatile and beautiful hairstyles that anyone would love to rock. They keep the hair safe from manipulation, resulting in healthy hair. While it might be hard for starters, with practice several times, you'll grasp it quickly.


Leave a comment