Flip Over Quick Weave Method: All You Need To Know

The flip-over quick weave has been trending for some time now and we're here to tell you everything you need to know.
So, if you've been looking for a guide, here's one!
What Is A Flip Over Quick Weave?

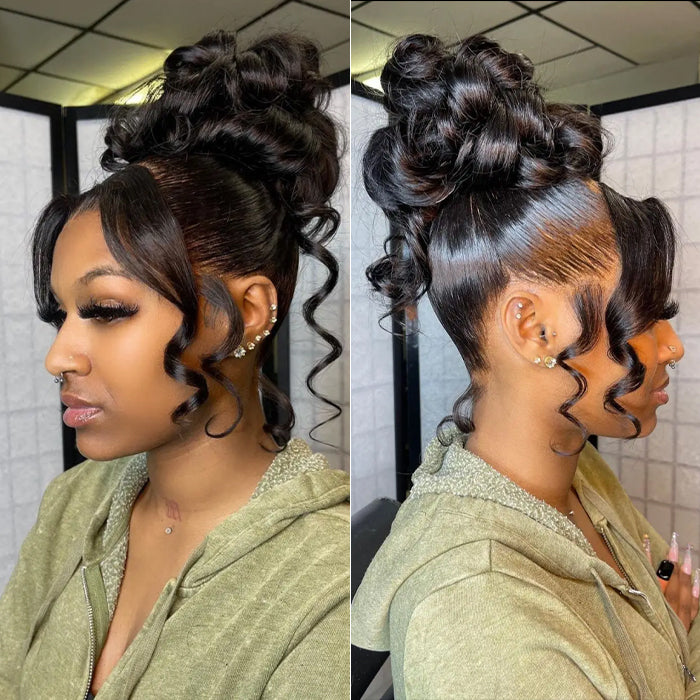
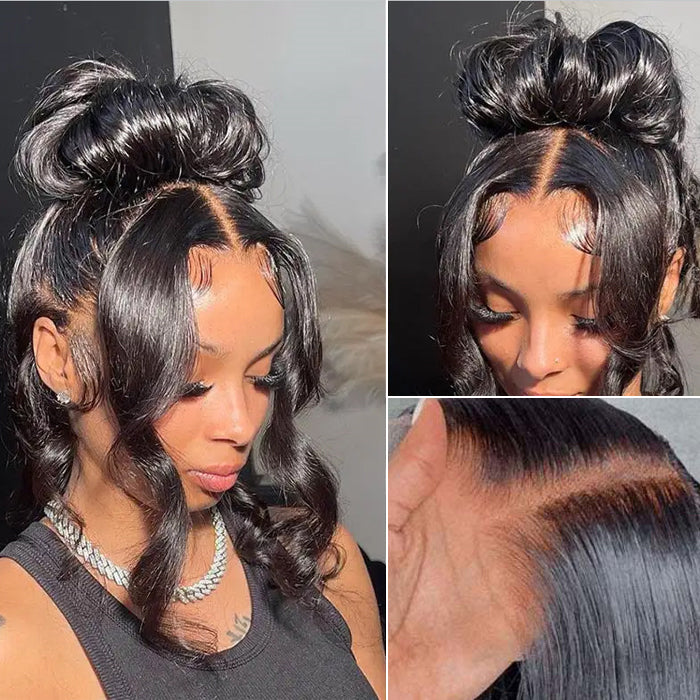
The flip-over quick weave is a method that gives you much volume on top of your head with glue in quick weaves. Also called no-part quick weave, like flip over sew in weave, it encloses your hair with no side or middle part. However, it creates the best part, as you can move your hair from one side to another without any visible line.
For this, most of your hair is under a wig cap with weaves glued on it. The front is sectioned out and used to blend with the rest of the hair, giving you a gorgeous style.
This technique minimizes the amount of your hair that will be visible. That means it preserves your hair, especially your hairline while giving you a natural look with the leave-out area in front.
Advantages of the Flip Over Quick Weave

1. No Tension
The flip-over quick weave creates no tension on your hair. This makes it a great method for anyone scared of pulling or tugging on their hair. Your edges, likewise, are safe. You can have your hair flourish and even grow.
2. Blend Well With Most Hair Texture
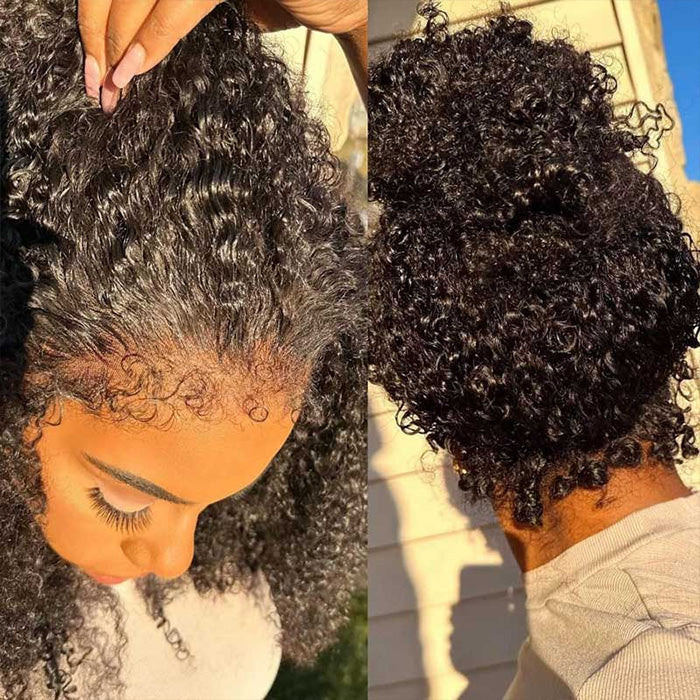
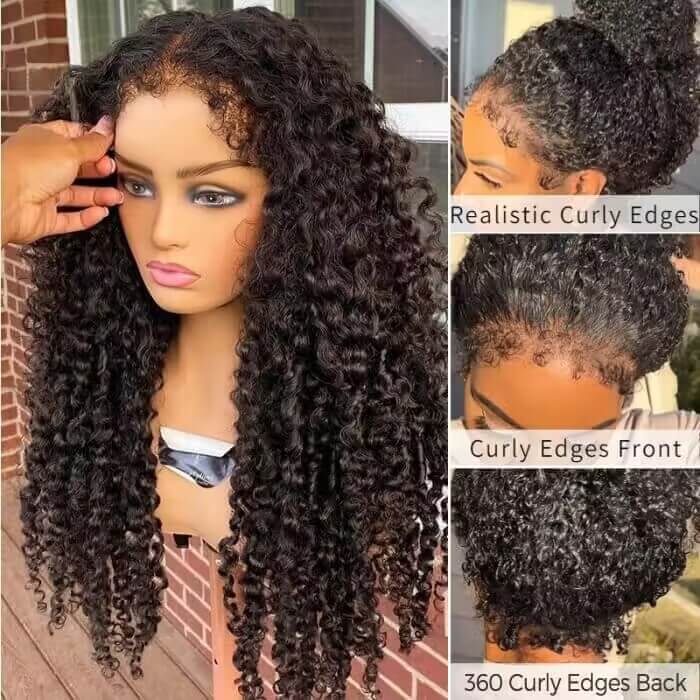
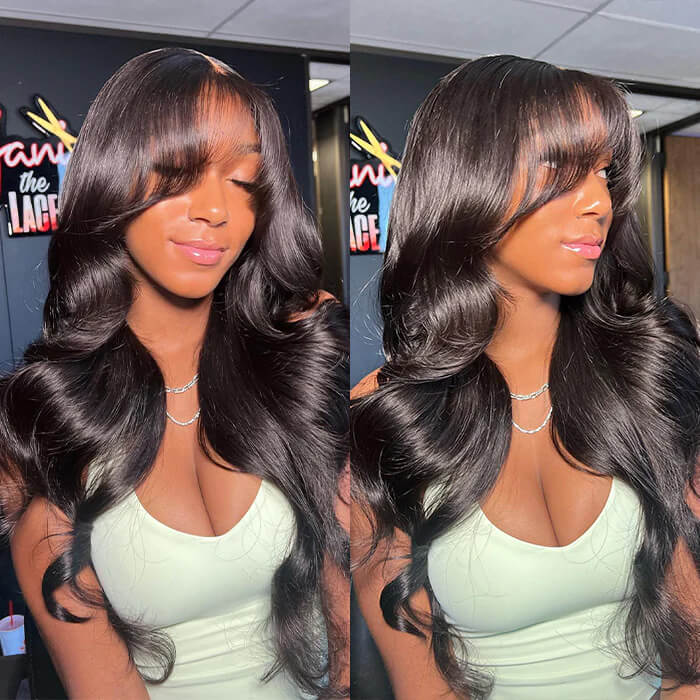
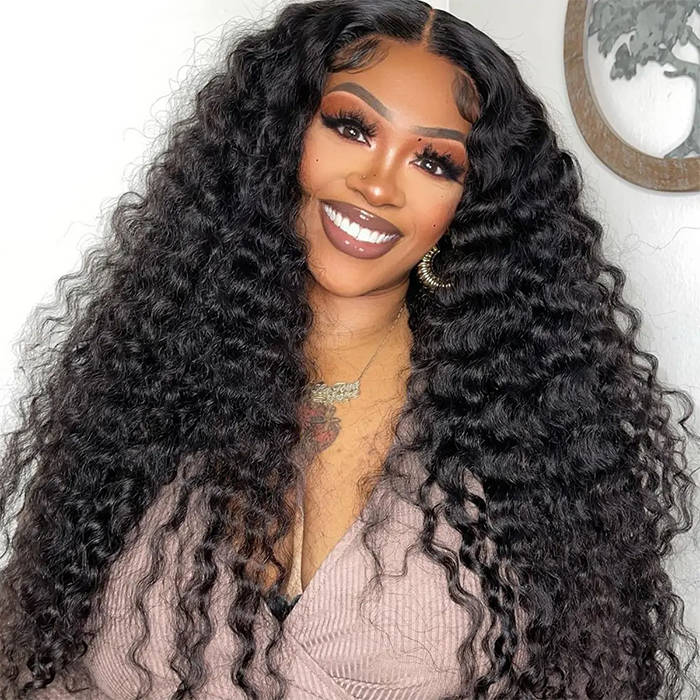
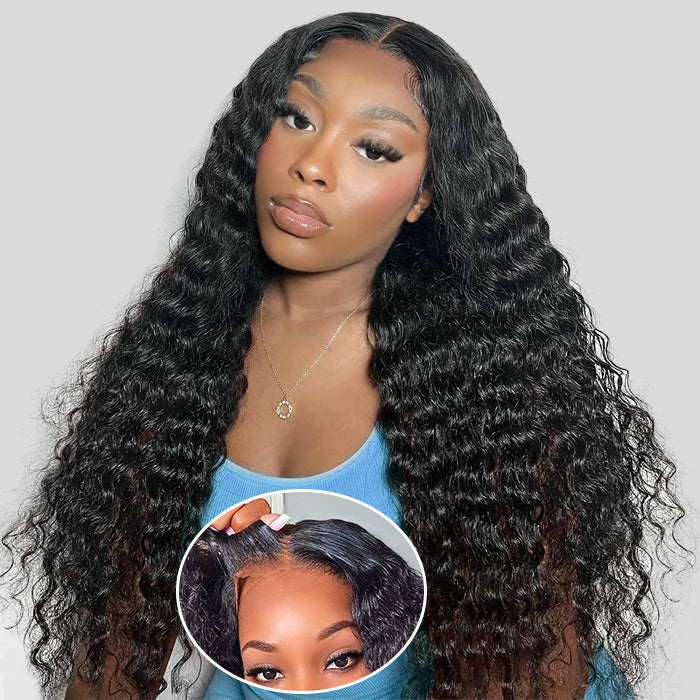
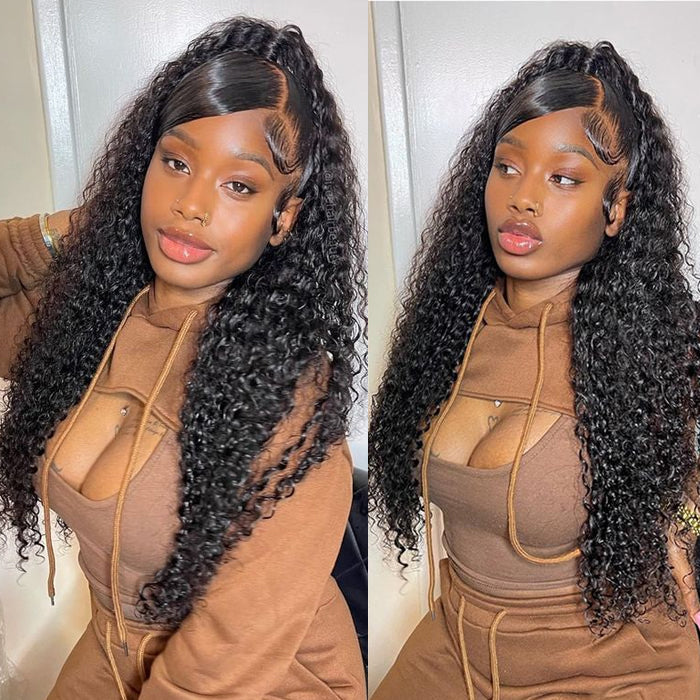
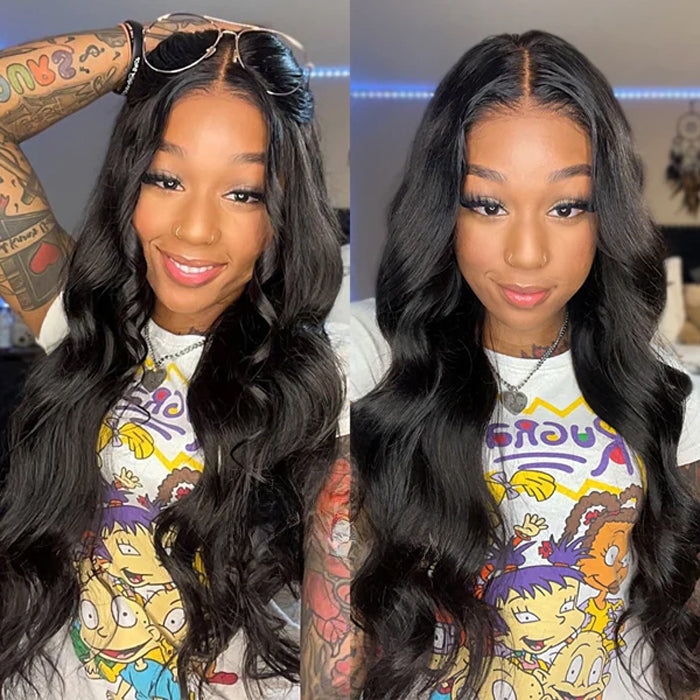
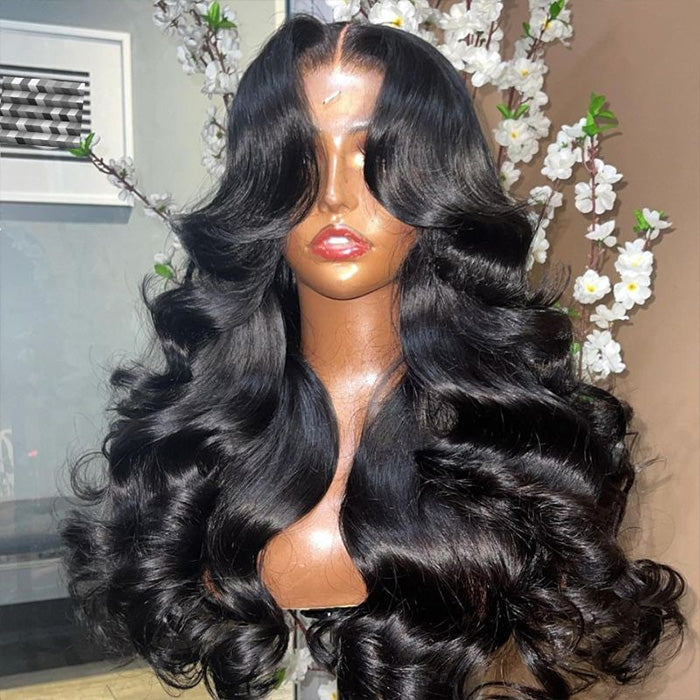
You can work with any hair texture of your choice. The flip-over quick weave gives you that. You can make it work with curly or wavy hair. So, go over the style you want and rock it.
3. Versatility
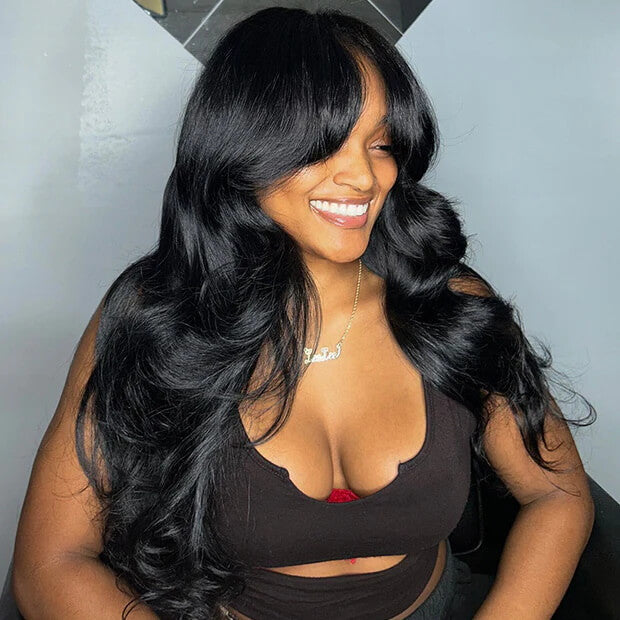
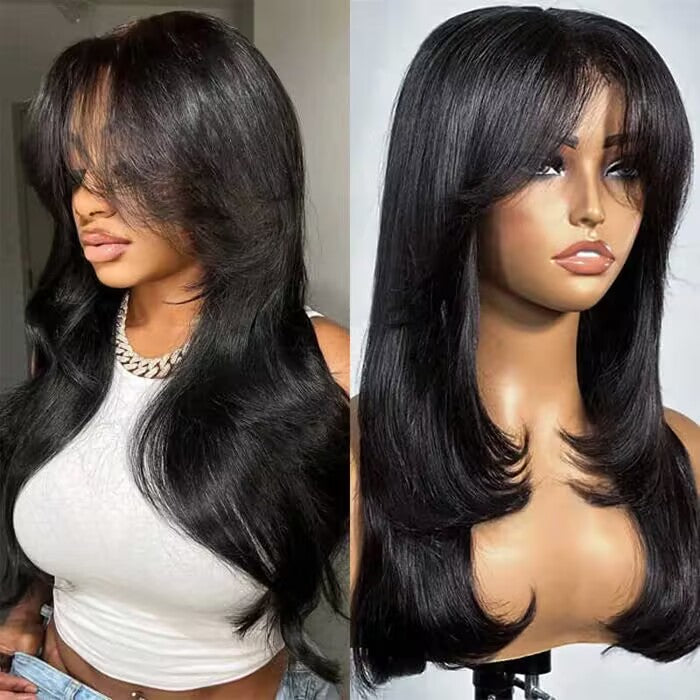
The flip-over quick weave makes it easy to wear your hair in different parts. You can choose to wear it on the left or the right side without creating a different part for any of them. That's fabulous! Plus, you can leave your hair flowing, choose to go for a ponytail or anyhow you wish to style it.
4. More Techniques
You are free to use whichever flip-over technique you desire. That's because there's more. Each of them is tailored to meet an individual's needs and preferences. This means if the flip-over quick weave isn't your style, there's another one you can use.
5. Protection
Another benefit of the flip-over quick weave is that it offers protection. You can have your hair breathe and stay protected from the elements with this. It's a good method to keep your hair safe and away from breakage or damage.
6. Hair Growth
With this technique, there's room for your hair to grow. This is because most of your hair remains covered, and that can promote hair growth. But before you cover it up, we'll advise you to oil your hair properly first. It'll prevent dandruff and help your hair to grow.
Who is Flip Over Quick Weave For?

The flip-over quick weave is for any hair texture. Anyone can wear a flip-over quick weave. However, your hair must be a bit lengthy for the leave-out.
This is not to discourage anyone, as there are full flip-over method styles you can opt for. So, if you'd love to achieve a contemporary, protective, flexible hairstyle, go for it.
The flip-over quick weave is best for curly or wavy hair. But you can make it work with whichever style you choose.
Items You Will Need for Your Flip Over Quick Weave

These are the products you'll need for the flip-over method quick weave.
- Wig cap (a black wig cap is the best option)
- Scissors
- Hair bundles (three or four should be enough)
- Hair shield
- Bond glue
- Hair oil
- Blow dryer
- Hair spray
- Flexi rods (optional)
- Heat protectant
- Curling iron
- Rattail comb
- Lip pencil (optional)
- Flat iron
Once you've got your tools, you're ready.
How To: Flip Over Method Quick Weave
Follow these easy steps to achieve the flip-over quick weave:
Step 1: Prepare your hair
Divide your hair into two parts, leaving a small section at the front for the leave-out and braid the front section away from the back part, then move over to the back.
Start dividing your hair into sections and braid/twist them towards the back. You want to make sure it's as flat as it can be. While it doesn't have to be much, let it not be too big.
Step 2: Oil your scalp
This is not compulsory, but to promote growth, apply a good oil on your scalp for nutrients. You can apply it on the cornrow lines through your bottle or with your hands.
Step 3: Wear a wig cap

Next, wear a black wig cap over your head. Make sure you put it on properly and remove it from over your ears.
At this point, it can cover the leave-out section. You can wear it to cover only the back area if you want.
Step 4: Draw Lines To Guide Weaves
If you want to make things easier, draw the lines where your quick weave will be. You can use a lip pencil so it's clear on the cap.
Step 5: Apply Protective Hair Shield On Wig Cap and Blow Dry

Using a brush, apply some protective hair shield all over the cap. Please do not skip any areas as it protects your hair from glue and makes it easy to remove when it's time. Once you've applied, blow dry it and then move to the next section.
Step 6: Apply Hair Spray(optional)
If you follow step five you don't have to do this.
Now, start spraying the back section with glue spray. You can go in sections to make things much simpler. For instance, divide it into three parts, moving from one side to the other. After you spray, use a blow dryer to dry it. If you want, you can skip this part.
Step 7: Cut Excess Wig Cap
If you wore your wig cap over your leave-out, now is the time to cut it. So, with scissors, cut out the front section of the wig cap. You can lift it with your fingers to avoid making any mistakes. Then, cut from the middle towards the back away from the rest of the wig cap at the back.
Step 8: Add Hair Weaves

Add glue to the tracks one after the other and glue. Move from the back till you're done with it all. If you find it confusing, measure the tracks to know the correct lengths.
You can form a U-shape and lay them across when you reach your crown. Or you can lay the tracks around the perimeter of the cap. From the front to the other side across.
Whichever method you opt for, lay your tracks close to each other, so it's full and come out beautiful. After laying a few rows, use a blow dryer to dry them. Once you are at the front, you want to cut the tracks shorter before laying them. That way, it's easy and stays gorgeously.
A tip: if you want to flip over your hair to the right, lay your tracks on the left. It'll make it fuller if you lay it this way.
Step 9: Loose Your Leave out Hair

After laying your tracks completely, loosen the front section and apply a heat protectant to your hair. You want to protect your strands in any way you can. While the heat protectant doesn't have to be much, it should be adequate.
Step 10: Strgighten Your Leave Out

Next, straighten your leave-out area with a flat iron in sections to blend it with the rest of your hair well.
Step 11: Style Your Leave Out

Start rolling your hair with a curling iron if your hair is wavy. Do it in sections till you're done with your hair.
If it's curly, curl the front part of your hair. Then, add a little setting foam before using a flexi rod to roll your hair in the direction you curled it. Blow dry it and leave it overnight. Remove it the next day and blend it with the rest of your hair.
Step 12: Style Your Baby Hair

Section out the baby hairs and brush them forward. If you'd like to have it gelled, then go ahead and add some gel to give it a nice finish. In case you don't want to, brush your hair backward.
Now you've styled the flip-over quick weave. Be careful whenever you comb. Remember, it's a quick weave and you don't want the tracks flying out.
Video On Flip Over Quick Weave Method
How Many Bundles Do You Need for Your Flip Over Quick Weave?
Three bundles should be enough to complete this technique. However, if you have fuller hair, we advise you to get about four bundles so it's full, beautiful, and long.
How Long Does Flip Over Quick Weave Last?
The flip-over quick weave can last for as long as you choose to wear it. But at most, it can last up to two months, giving you the best out of it.
What Hair Type is Recommended for the Flip Over Quick Weave?
The best way to create a stunning style is to use virgin or Remy human hair. These hair types will add beauty to your hair and make it shine.
Conclusion
From all, the flip-over quick weave certainly gives you the best all around. You enjoy the long, wavy tresses, protection, and natural look. So, go for it.
But while this article includes how to do it yourself, if you're doubtful, you should visit a salon to get it styled. This is to avoid making your hair suffer or damaging the extensions you'll be using.
Lastly, take it off after two months. It will help you avoid any issues with your hair and scalp.
The flip-over quick weave gives you flexibility and versatility. What are you waiting for? Try it now!













Leave a comment